
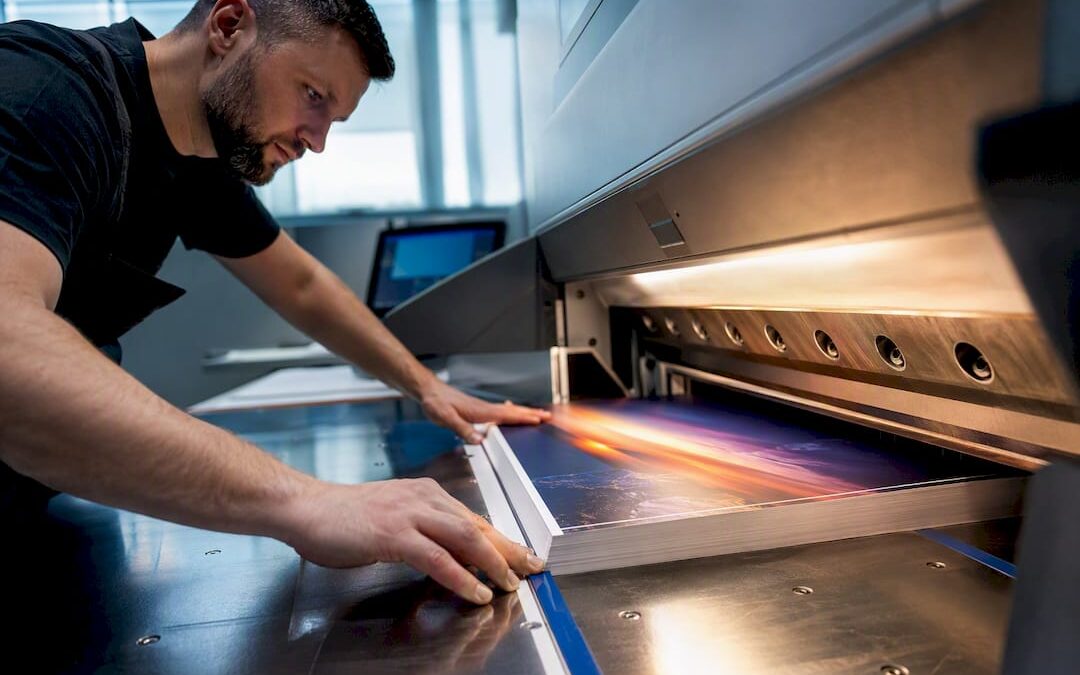
Print bleed is the artwork that extends past the trim line so nothing white shows up after cutting. The standard rule is simple: add 0.125 inch (3 mm) of bleed on every side unless your printer’s spec sheet says otherwise. Skip it, and even a slight shift in the cutting blade leaves a thin unprinted sliver along the edge of an otherwise perfect design.
TL;DR:
- Most standard print jobs require a bleed of 0.125 inch on all sides, but complex or large-format projects may need 0.25 inch or more.
- Extending artwork and background elements to the bleed guide is essential to prevent white slivers after trimming.
- Setting the bleed correctly in design software like InDesign or Illustrator ensures proper trimming and avoids rejection.
- Always verify specific bleed requirements with the printer’s template to avoid costly mistakes or delays.
- All City Graphix includes proper bleed, safe area, and trim setup in its design services to ensure print-ready files.
Table of Contents
- What Is Bleed in Printing? Trim, Safe Area, and Full Bleed Defined
- How Much Bleed for Print: Standards and When They Change
- Setting Bleed in InDesign, Illustrator, Photoshop, and Publisher
- Exporting a Print-Ready PDF: Crop Marks, Bleed Box, and Color
- Common Print Bleed Mistakes and How to Fix Them
- Bleed Math: How Trim Size Becomes Canvas Size
- All City Graphix’s File-Prep Checklist Before Sending to Print
- Why Bleed Is the Detail That Makes or Breaks a Print Job
- Let All City Graphix Handle Your Print-Ready Files
- Where to Verify Bleed Specs and Standards
- Sources
- FAQ
What Is Bleed in Printing? Trim, Safe Area, and Full Bleed Defined
Every print file has three zones that matter, and confusing them is where most bleed problems start.
Bleed is the extra artwork extending past the trim edge that gets sliced off during cutting. “Full bleed” just means the design covers the entire sheet, edge to edge, with no white border anywhere. Trim is the actual finished size of the piece after cutting. Safe area, sometimes called the margin, is the buffer inside the trim line where text and logos need to stay so nothing gets clipped.
Bleed exists because cutting isn’t perfectly precise — blades shift by fractions of an inch during high-volume runs, and folding or binding introduces its own drift. That’s also why an InDesign workflow guide from Monmouth University treats bleed as compensation for the entire finishing chain, not just the printing press.
Safe area needs to grow beyond the standard buffer for:
- Saddle-stitched booklets, where binding pulls inner pages inward
- Folded pieces like brochures or greeting cards, where the fold line shifts placement
- Die-cut shapes, where the cutting path rarely lands in exactly the same spot twice
How Much Bleed for Print: Standards and When They Change
For most standard print jobs — business cards, flyers, postcards, brochures — 0.125 inch (1/8 inch, roughly 3 mm) on all four sides is the industry default. That’s the figure printers like the University of Minnesota publish, and it’s what most commercial print shops expect by default.
Quick reference:
- Standard flat printing (cards, flyers, postcards): 0.125 in (3 mm)
- Large-format printing (banners, posters, signage): 0.25 in (6 mm) or more
- Die-cut jobs and heavy finishing (folders, packaging): often 0.25 in, sometimes higher
Statistic to remember: Prepressure’s design guidance notes that die-cut and large-format jobs can require 5 to 6 mm (roughly 0.2 to 0.25 inch) instead of the standard 3 mm, because the tolerance for error grows with the size and complexity of the cut.
Some print shops request bleed in millimeters even for US-based jobs, particularly if they run European-made equipment or serve international clients. A request for “2mm bleed” isn’t wrong, it’s just a tighter tolerance than the US default. Always pull the exact number from your printer’s template before you build the file. It’s the fastest way to avoid a rejected proof.
Setting Bleed in InDesign, Illustrator, Photoshop, and Publisher
Each design app handles bleed differently, and the setup step is where most errors get baked into a file before anyone notices.
- InDesign: Open Document Setup and click the Bleed and Slug fields, then enter 0.125 in on all sides. Extend any background, image, or color block that touches the edge out to the bleed guide, not just to the trim line. When exporting, check “Use Document Bleed Settings” under Marks and Bleeds in the PDF export dialog.
- Illustrator: Set bleed values in the artboard options or the PDF export dialog under Marks and Bleeds. Keep the artboard at trim size and let the bleed field do the work, rather than manually resizing the artboard itself.
- Photoshop: Since Photoshop works in pixels, build the canvas to include bleed from the start. Set resolution to 300 ppi and place ruler guides 0.125 in inside the canvas edge to mark the true trim line, a step WWU’s print guide recommends for any raster-based workflow.
- Publisher: Set the page size to the finished dimension first, then use Publisher’s bleed marks option during export. Microsoft’s own Publisher guidance walks through extending background elements before generating the print-ready PDF.
Pro Tip: Keep your artboard or page set to the actual trim size whenever the software allows it, and let the bleed setting handle the extra area. Resizing the canvas itself to “trim plus bleed” works, but it’s an easy way to lose track of where the real edge is later.
If you regularly build image-heavy layouts, the canvas math used for step and repeat photo backdrops follows the same logic: build the pixel dimensions around the bleed, not the other way around.
Exporting a Print-Ready PDF: Crop Marks, Bleed Box, and Color
A file can look perfect on screen and still fail at the printer if the export settings are wrong. Run through this before you hit submit.
- Confirm “Use Document Bleed Settings” is checked in the PDF export dialog, and verify the bleed value matches what the printer requested.
- Add crop marks only if the printer asks for them. Crop marks mark the trim position, but they don’t create bleed on their own — a file can have crop marks and still lack usable bleed artwork underneath.
- Set raster images to 300 ppi at final size so edges don’t blur or pixelate.
- Convert to CMYK if the printer requires it, and either embed fonts or outline text so nothing reflows on their end.
A PDF with crop marks can still be missing real bleed artwork, so this step matters even when the marks are present.
Common Print Bleed Mistakes and How to Fix Them
Most bleed problems trace back to a handful of repeat offenders.
- Background stops at the trim line instead of the bleed guide. Toggling the bleed guide on doesn’t extend anything, it just shows you where to draw. Extend the artwork itself out to that line.
- Logos or text sitting too close to the trim edge. Anything essential needs to stay inside the safe area, not just inside the trim.
- Low-resolution images stretched to fill the bleed zone. Enlarging a small image to cover the extra area makes edges look soft in print. Source a higher-resolution version or crop the image before scaling.
- Bleed math applied once instead of twice. Bleed adds to both sides of each dimension, so a common slip is adding it only to one edge. Double check width and height separately.
- No native file available. If you only have a flattened PDF, tools like Adobe Acrobat Pro or Illustrator can add crop marks and adjust page boxes after the fact, though extending artwork retroactively is trickier than building it in from the start.
Bleed Math: How Trim Size Becomes Canvas Size
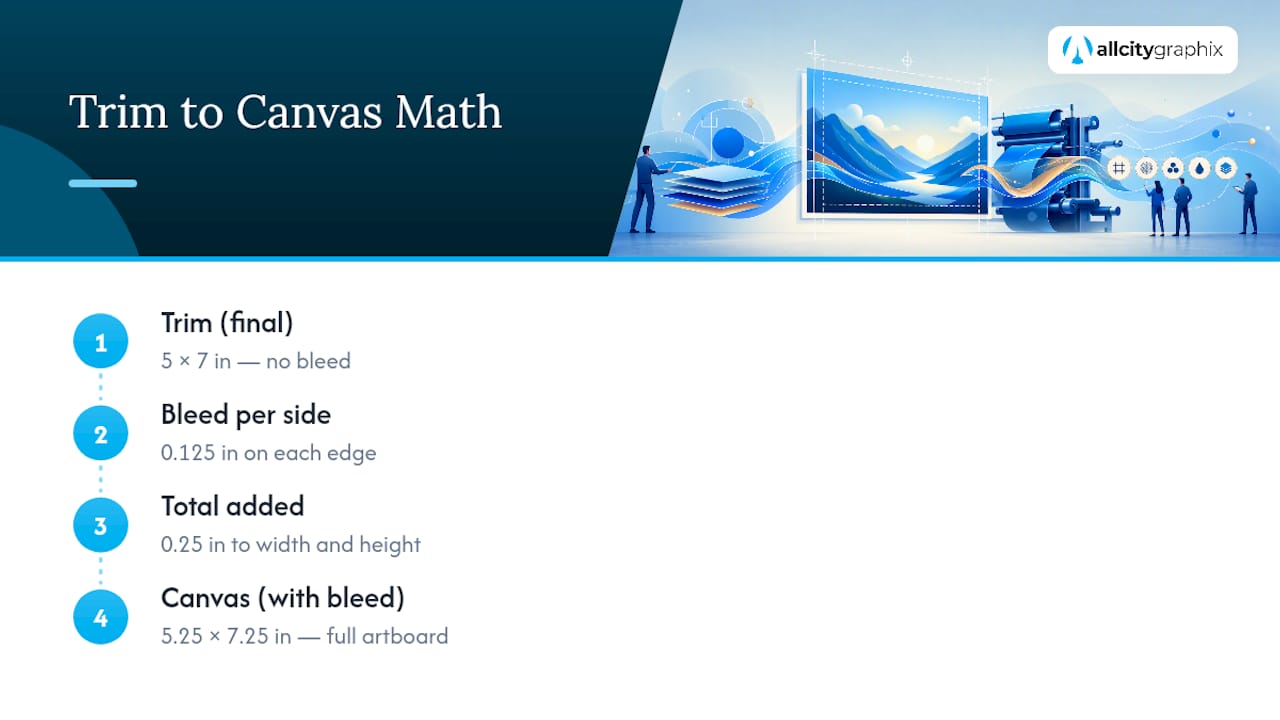
The arithmetic is straightforward once you see it laid out: bleed adds to both sides of a dimension, so the total added width or height is double the bleed value, not single.
A 5 × 7 inch print with 0.125 in bleed needs a 5.25 × 7.25 inch canvas if you’re building the whole bleed area into one flat canvas — 0.125 inch on each side adds up to 0.25 inch total added to both width and height. If your software supports separate bleed settings, you can instead keep the artboard at 5 × 7 and let the bleed field handle the extra 0.125 inch per side automatically.
All City Graphix’s File-Prep Checklist Before Sending to Print
This is the sequence we run before any file leaves the studio, whether it’s a business card or a packaging die-line.
- Confirm trim size and required bleed with the printer’s spec sheet, not assumptions.
- Extend every background, image, and edge-touching element to the bleed guide.
- Double check text and logos sit inside the safe area, not just inside the trim.
- Export the PDF with document bleed settings enabled and crop marks only if requested.
- Open the exported file at 100% and inspect the bleed zone and trim line before submission.
Send native files (InDesign, Illustrator) when the printer offers file review or minor corrections. Send a flattened, verified PDF for straightforward reprints where no changes are expected.
Pro Tip: When in doubt about a die-cut or multi-part finishing job, ask the printer for their template file first and build inside it. It saves a proof cycle almost every time.
Why Bleed Is the Detail That Makes or Breaks a Print Job
Bleed is the kind of detail that’s invisible when it’s done right and glaring when it’s not. A missing sliver of white along one edge of a business card looks like a production error, even when the design itself is strong. I’ve seen otherwise sharp layouts get rejected at the print stage purely because someone stopped the background at the trim line instead of the bleed guide. A designer who understands bleed and a printer who communicates their exact specs make production friction mostly disappear.
— Alex
Let All City Graphix Handle Your Print-Ready Files
Getting bleed right on a single postcard is manageable. Getting it right across a packaging die-line, a multi-panel brochure, and a trade show banner, all with different printer specs, is where DIY file prep starts costing more time than it saves. All City Graphix builds print-ready files as part of its graphic design work, handling the trim, bleed, and safe-area setup so nothing bounces back from the printer with a rejected proof.

If your project involves complex die-cuts, large-format signage, or packaging with multiple finishing steps, that’s exactly when a second set of trained eyes on the file pays off. For packaging specifically, the die-line and bleed considerations get more involved, which is where food packaging design work benefits from someone who preflights for a living. Ready to hand off your next print job? Visit the services page to see the full range of design and production support available, or reach out about a specific project directly.
Where to Verify Bleed Specs and Standards
For deeper technical detail beyond this guide, a few sources are worth bookmarking: the University of Minnesota’s printing tools page covers bleed basics and setup steps, Adobe’s help documentation details bleed and slug areas in InDesign, and Prepressure’s design guide breaks down bleed requirements across job types.
Sources
- What is Bleed? | Client Tools | Printing Services
- Bleed settings example (WWU PDF)
- InDesign bleed instructions (Monmouth University copy center PDF)
- Page bleed | what is it, how much is needed and how to fix it (Prepressure)
FAQ
What does 0.125 inch (3 mm) bleed mean in printing?
It means your artwork extends 0.125 inch (about 3 mm) past the finished trim edge on every side. That extra margin gets cut away during trimming, which is why printers require it as a buffer against slight shifts in the cutting blade.
How much bleed should I leave for printing?
Use 0.125 inch (3 mm) on all sides for standard jobs like flyers, cards, and postcards. Large-format prints, die-cuts, and heavily finished pieces often need 0.25 inch or more, so it’s worth checking the printer’s own template requirements before finalizing your file.
Can office supply or copy shops print full bleed?
Many retail copy centers and office supply print counters can handle full bleed on standard sizes like postcards and flyers, but capabilities vary by location and equipment. Always confirm bleed requirements and file specs with the specific location before submitting your file, since some in-store machines trim differently than commercial press equipment.
How much bleed do I need for a 5×7 print?
A 5×7 print with standard 0.125 inch bleed needs a 5.25 × 7.25 inch canvas if you’re building bleed directly into a flat file, since 0.125 inch on each side adds 0.25 inch total to both width and height. If your software supports a separate bleed setting, you can keep the artboard at 5 × 7 and let that setting add the extra area automatically.
Does All City Graphix prepare print-ready files with correct bleed?
Yes, file setup including trim, bleed, and safe-area placement is part of All City Graphix’s graphic design services. Pricing depends on the scope of the project, so current details are available directly through the services page.