

Most layout and content changes happen in the Shopify theme editor. Global brand styles, like colors, typography, and currency format, live in Theme settings. Code or Shopify CLI comes in only for advanced behavior the editor can’t handle. Duplicate your live theme before touching anything, and run Theme Check and Lighthouse before you publish.
TL;DR:
- Most global style adjustments should be made through theme settings, which affect all templates uniformly and require careful previewing before applying.
- Advanced customizations involving behavior, animations, or third-party API integrations necessitate editing Liquid, CSS, or JavaScript files within a local development workflow.
- Running Theme Check and Lighthouse tests before publishing helps catch code and performance issues, with Lighthouse scores above 60 being a recommended benchmark.
- Always duplicate your theme before making significant changes or updates, and keep detailed records of manual code edits to simplify reapplication after theme updates.
- Complex or large-scale redesigns and checkout customizations often require professional agency support, especially when plans involve Shopify Plus or custom app integrations.
Table of Contents
- Getting comfortable with the theme editor workflow
- What theme settings control versus section-level changes
- How templates, sections, and blocks fit together
- When code becomes necessary and how developers work
- Checkout customization sits outside the theme editor
- Testing before you publish: Theme Check and Lighthouse
- Backing up and updating themes without losing custom work
- Deciding between DIY, a freelancer, or an agency
- What agencies see go wrong most often
- Getting hands-on help with your Shopify theme
- Where to dig deeper on theme development
- Sources
- FAQ
Getting comfortable with the theme editor workflow
Open the editor from your admin by going to Online Store, then Themes, then Customize. This launches the visual editor where changes preview live before anything goes public. Your published theme stays untouched until you hit Save, which means you can experiment freely on a draft.
The editor interface has a few key zones: a top menu bar for switching templates and previewing devices, a left sidebar showing the section and block tree for the current page, a right panel with settings for whatever you’ve selected, and a live preview pane in the middle. Some themes use a single sidebar, others split settings into a second pane. Mobile preview sits in the top bar so you can check how a layout holds up on a phone screen without leaving the editor.
Within this interface, you can handle most storefront requests using built-in editor controls:
- Add, remove, or reorder sections and blocks on any template.
- Switch which template a page uses, or create a new one.
- Manage app embeds that inject app functionality into the theme.
- Adjust theme settings like colors and fonts from the same screen.
- Preview changes across desktop and mobile before saving.
A few workflow habits save headaches:
- Undo and redo work during your session, but that history disappears once you save, so save deliberately rather than after every tweak.
- Use a development theme preview link when you want a client or teammate to review changes without affecting the live site.
- The preview updates as you work, but what’s available depends on the theme and template you’re editing, since not every theme exposes the same controls.
If a request involves moving structural pieces around, swapping images, or rewriting copy, the editor handles it. If it involves changing how something behaves, like adding a new animation trigger or integrating a third-party API, you’ve crossed into code territory.
What theme settings control versus section-level changes
Theme settings govern the look and behavior of your entire store, not just one page. This is where you set your color palette, typography choices, visual elements like borders or corner radius, social media links, search behavior, cart presentation, and currency format. Changes here ripple across every template that uses those variables.
According to Shopify’s own guidance, this is also where custom CSS lives if your theme supports it, and it’s worth knowing that CSS entered in Theme settings affects your storefront pages but has no effect on checkout, which is a separate system entirely.
Some themes ship with preset “theme styles,” essentially bundled combinations of colors and fonts you can apply with one click. Applying one of these presets can overwrite settings you’ve already customized, so it’s worth reviewing what changes before committing.
A few checks before you touch global settings:
- Screenshot your current settings panel so you have a reference point if something breaks.
- Preview the change across your homepage, a product page, and a collection page, not just the page you’re currently viewing.
- Check contrast and readability after any color change, since a palette that looks fine on a hero banner can wash out body text elsewhere.
Pro Tip: Keep a simple document listing your brand’s hex codes and font names outside of Shopify, so you’re not reverse-engineering your own settings after a theme update.
How templates, sections, and blocks fit together
A template defines a page type, like your homepage, a product page, or a collection page. Sections are the modular chunks that make up a template, like a hero banner or a featured product grid. Blocks are the individual controls inside a section, like a single testimonial or an image tile within a slideshow.
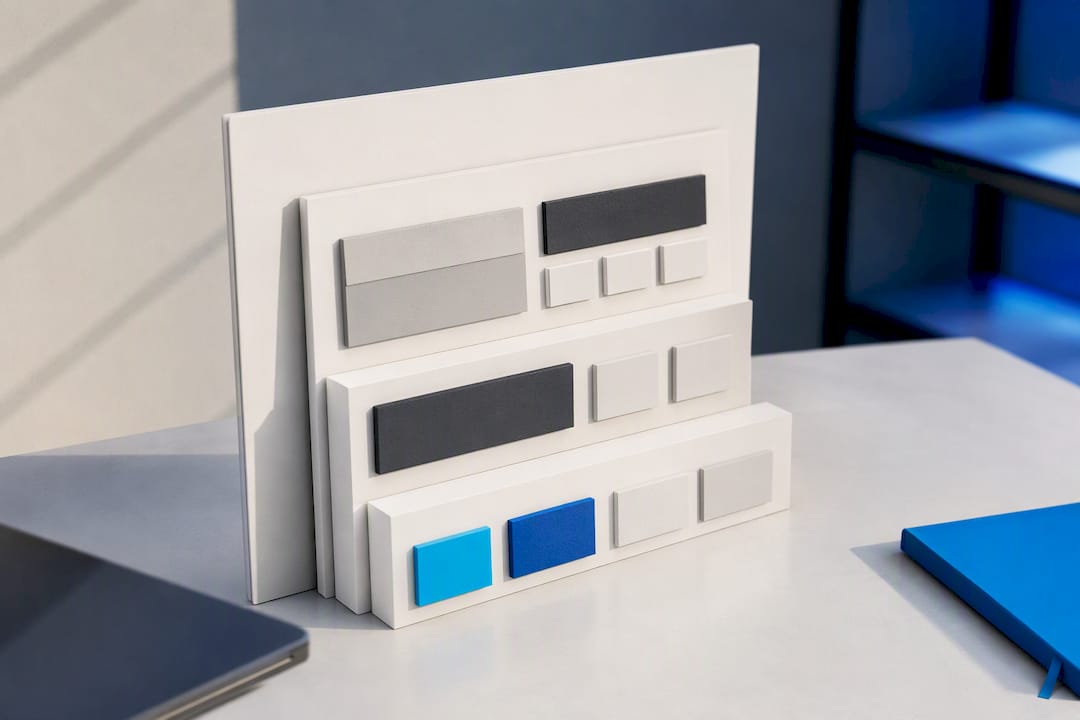
Shopify documents practical limits on this structure: a template can hold roughly 25 sections, and each section has its own block limit. Gift card pages and checkout pages sit outside this system and can’t be customized through ordinary theme sections.
You’ll spend most of your editing time on a handful of templates:
- The home template, which sets first impressions and typically carries the most sections.
- Product templates, where you control how variants, images, and add-to-cart controls display.
- Collection templates, which govern product grid layout and filtering.
- Standalone page templates, useful for landing pages or an About page with a distinct layout.
Create a new template when a specific product or page needs a different structure than your default, rather than overloading one template with conditional logic. Saved templates apply automatically to new or existing pages and products, so if a product looks wrong after publishing, check which template it’s assigned before assuming the section itself is broken.
When code becomes necessary and how developers work
Some customizations simply aren’t available through the visual editor. Shopify themes are built from Liquid (Shopify’s templating language), HTML, CSS, JavaScript, and JSON configuration files. Editing any of these requires at least basic familiarity with how templating languages reference data, plus comfort reading and writing front-end code.
The admin code editor lets you search files, add, rename, or delete them, and restore certain previous versions of a file. One limitation worth knowing: asset files, like images or compiled scripts, don’t have version history the way Liquid and JSON files do, so a mistake there isn’t as easily undone.
For anything beyond a quick fix, a local development workflow is safer and faster:
- Run
shopify theme pullto bring a copy of the theme onto your machine. - Use
shopify theme devto start a local server with hot-reload preview, so changes appear instantly without saving to the live theme. - Test thoroughly against a development theme, never the published one.
- Push changes back with
shopify theme push, then publish only when you’re confident. - Share preview or editor links so a client or teammate can review before anything goes live.
For agencies and teams, collaborator accounts and a GitHub integration make it possible to track changes, roll back bad commits, and let multiple developers work without overwriting each other’s files.
Pro Tip: Never edit code directly on the published theme. Duplicate it first, or build in a fresh development theme, so a broken deploy never touches what customers see.
Checkout customization sits outside the theme editor
Checkout and account pages are managed separately, under Settings and then Checkout, not through the theme editor. This separation exists because checkout runs on different infrastructure than your storefront.
Basic and mid-tier plans allow standard checkout branding, like logo, colors, and fonts. Advanced page customization and the Checkout Branding API are reserved for Shopify Plus. If you’re not on Plus and need closer brand alignment at checkout, apps that work within the standard branding options are usually the practical path, since deeper structural changes aren’t available on lower tiers.
Testing before you publish: Theme Check and Lighthouse
Two tools catch different problems, and using only one leaves gaps. Theme Check is a static linter that scans your Liquid code for issues before anything runs in a browser. Lighthouse measures what actually happens when a page loads.
Run Theme Check locally during development and pay attention to common flags:
- ImgWidthAndHeight catches images missing explicit dimensions, which can cause layout shift.
- ParserBlockingScript flags scripts that stop the page from rendering while they load.
- RemoteAsset flags assets pulled from external domains instead of Shopify’s CDN.
- Optional AssetSize checks, like AssetSizeCSS and AssetSizeJavaScript, can be enabled in
.theme-check.ymlto catch oversized files, though these measure raw file size on disk rather than compressed size.
The Shopify Theme Store requires an average Lighthouse performance score of at least 60 across home, product, and collection pages, which gives merchants a useful benchmark even outside the Theme Store submission process. Run Lighthouse multiple times on each page type and use the median score, since a single run can be skewed by network variance.
For teams shipping frequent changes, Shopify’s GitHub Action for Lighthouse CI can run these checks automatically on pull requests, and testing against a shopifypreview.com link lets you verify performance on real store data before anything publishes. A dedicated performance optimization guide covers diagnostics in greater depth.
Before publishing, work through a short checklist: duplicate your theme as a backup, run Theme Check, run Lighthouse on your three key templates, test across a couple of browsers and device sizes, and confirm you have a rollback plan if something breaks post-launch.
Backing up and updating themes without losing custom work
Always duplicate your live theme before making changes. Duplicating creates a full copy of the theme’s code and settings, but a theme download does not include store content like products, collections, or files, so it’s a code backup, not a content backup.
When a Theme Store theme releases an update, Shopify adds it as a new draft theme rather than overwriting your live one. Some customizations carry over automatically; custom code changes generally do not, so you’ll need to reapply them manually or use an app that flags differences between versions. Automated update notifications only apply to themes installed from the Theme Store, not fully custom-built themes.
- Duplicate before every significant edit, not just before major redesigns.
- Keep a running note of custom code changes so reapplying them after an update takes minutes, not hours.
- Export product, collection, and page content separately if you’re migrating a theme between stores.
Deciding between DIY, a freelancer, or an agency
Start with scope. A single homepage banner swap or color adjustment is a same-day editor task. A new custom section with unique interactions is a code job, but still manageable solo if you’re comfortable with Liquid and JavaScript. A full redesign involving new page structures, app integrations, and performance targets is where most solo attempts stall.
Watch for these signals that it’s time to bring in help:
- The project requires checkout customization beyond standard branding, which means you need Plus and someone who’s worked with the Checkout Branding API.
- Lighthouse scores are dropping and you can’t isolate whether it’s theme code or an installed app.
- You’re integrating multiple apps that need to share data or trigger each other, and conflicts keep appearing.
- The UX you want doesn’t exist in any theme or app, and building it from scratch is the only option.
A quick editor tweak, do it yourself. A small code fix, a freelance developer comfortable with Shopify’s ecosystem usually covers it. A full redesign with brand, performance, and integration requirements across the board is where an agency’s discovery-to-delivery process pays for itself.
What agencies see go wrong most often
Most theme requests should prioritize the pages that actually drive revenue: home, product, and collection. Document every custom code change somewhere outside the theme itself, and stage everything in a development theme before it touches the live site. Skipping that last step is the single most common way a good idea becomes a bad launch.
— Alex
Getting hands-on help with your Shopify theme
If your theme customization has grown past what the editor can handle, some agencies build and maintain Shopify storefronts with a discovery-to-launch process similar to common design workflows.

- Development theme previews to review changes before publishing.
- Quality assurance passes covering performance, responsiveness, and cross-browser checks.
- Handoff documentation and optional ongoing maintenance retainers.
Visit our services page to see the full range of web design and development work, or reach out to talk through what your storefront needs next.
Where to dig deeper on theme development
For hands-on technical reference, Shopify’s theme structure documentation and Theme Check tool cover the details this article summarizes.
Sources
FAQ
Can Shopify themes be customized?
Yes. Shopify themes support customization through the visual theme editor for layout and content, Theme settings for global styles, and direct code editing or Shopify CLI for advanced changes the editor doesn’t support.
How do I customize my Shopify theme settings?
Open Online Store, then Themes, then Customize, and look for the Theme settings panel, usually accessible from the bottom of the left sidebar. This is where you adjust colors, typography, cart behavior, currency format, and custom CSS that applies across your entire storefront.
How much does Shopify take from a $20 sale?
Shopify’s transaction fees depend on your plan and payment method, and this article does not cover pricing plans in detail. Check Shopify’s official pricing page for the current fee structure tied to your specific plan.
Can you change a Shopify theme without losing content?
Switching themes generally preserves your products, collections, and pages, since that content lives independently of the theme itself. Section and block settings tied to your previous theme’s structure typically don’t transfer, so you’ll need to rebuild layout choices in the new theme.