
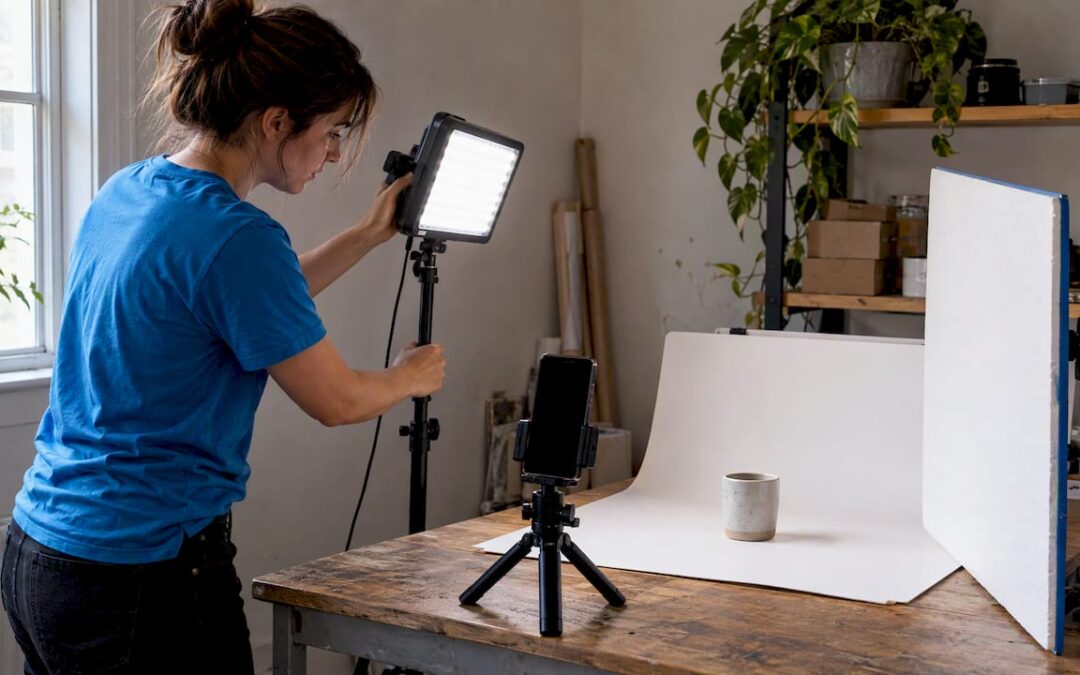
Build this first: one or two continuous LED panels with softboxes (or a light tent for small items), a sturdy tripod, a white seamless sweep or curved board, and a reflector. Mount your camera or smartphone on the tripod, shoot RAW at ISO 100 with an aperture around f/8, and export square images at 2048×2048 pixels, aiming for roughly 300 KB per file.
TL;DR:
- Using continuous LED panels with softboxes provides consistent lighting and eliminates guesswork, making it ideal for small product shoots.
- A sturdy tripod is essential for maintaining camera position and focus accuracy, especially when shooting multiple images in the same setup.
- Building a repeatable product photography station with marked positions and fixed lighting ensures efficiency and uniformity across shoots.
- Shooting in RAW at low ISO, with fixed aperture and white balance, allows for maximum flexibility and color accuracy during post-production.
- Prioritizing proper lighting, backdrops, and a stable setup yields better results than investing heavily in expensive camera bodies for beginner product photography.
Table of Contents
- Essential Gear and Budget-Friendly Substitutes
- Choosing Lights and Modifiers: Continuous LED, Strobes, Softboxes and Reflectors
- Build a Repeatable Product-Photography Station
- Concrete Camera Settings and Shooting Techniques for Ecommerce Packshots
- A Minimal Editing Pipeline and Export Settings Optimized for Ecommerce
- One-Page Photography Style Guide Template for Small Catalogs
- Why This Advice Holds Up in Practice
- Editorial Take: Stop Buying Camera Bodies First
- How All City Graphix Can Help With Your Product Images
- FAQ
- Sources
Essential Gear and Budget-Friendly Substitutes
The camera matters less than most beginners think. Lighting modifiers and placement usually improve image quality more than a pricier camera body, and continuous LEDs give you a real-time, what-you-see-is-what-you-get view of how shadows fall, which cuts down on trial and error. A smartphone with a good lens and manual controls, or an entry-level mirrorless camera, is enough for most ecommerce catalogs. Spend your first dollars on light shaping, not glass.
A tripod is the most critical tool for product consistency: it locks your framing so every shot in a series lines up, lets you use manual focus without camera shake, and supports a remote release so you avoid blur from pressing the shutter by hand. Look for a tripod with a center column you can adjust independently of the legs, a ball head for quick angle changes, and enough weight capacity to hold your camera steady even with a long lens.
Backdrops determine how much cleanup you do later. Options worth knowing:
- White seamless paper: cheap, replaceable, and the standard for clean ecommerce packshots.
- Curved foamboard (a sweep): reusable, easy to wipe down, good for small to medium items.
- Acrylic sheets: give a glossy reflection underneath the product, popular for cosmetics and electronics.
- Light tents: enclosed diffusion boxes that wrap small, shiny items in even light with almost no setup.
A handful of small accessories save real time on shoot day: spring clamps to hold paper taut, gaffer tape to mark floor positions, a color checker card for accurate white balance, and a couple of extension cords so you are never short a power run across the room. None of these cost much, and all of them show up in every repeat shoot you do after the first one.
Choosing Lights and Modifiers: Continuous LED, Strobes, Softboxes and Reflectors
Natural window light is free and flattering, but it changes by the hour and by the weather, which makes it a poor fit for a catalog you need to shoot consistently over weeks or months. Continuous LED panels solve that problem: they stay on, so you see the exact shadow and highlight pattern before you ever press the shutter. Strobes put out more power per burst and recycle fast, which matters for high-volume studio work, but you are guessing at the final look until you check the image on a screen. For most beginners and small sellers, continuous lighting is the friendlier choice precisely because it removes that guesswork.
A rough brightness target helps you avoid underlit shots: about 1,000 lumens per 100 square feet is a reasonable starting point for a small studio corner. Panel size and distance change how soft or hard the light looks. A large panel placed close to the product produces a broad, soft wraparound light. The same panel moved six feet back, or swapped for a small LED puck, throws harder shadows with more defined edges, which can work for products that benefit from texture, like leather goods or raw wood.
Reflections are the recurring headache with anything metallic, glass, or glossy plastic. A few proven fixes:
- Add a shoot-through diffuser panel directly in front of your key light to soften hot spots.
- Use black cards or flags just outside the frame to subtract unwanted reflections rather than adding more light.
- Backlight the product slightly to separate it from the background and reduce glare on the front face.
- Try a polarizing filter on the lens, but check the result visually since it shifts both exposure and color.
For small, highly reflective items like jewelry or glassware, a light tent or a softbox-wrapped diffusion setup tends to outperform an open studio light, because the enclosure removes most stray reflections before they ever reach the lens. A compact one-light rig with a reflector often beats a more elaborate three-light setup for small shops, simply because it is faster to position and easier to repeat shot after shot.
Pro Tip: Keep a cheap white foam reflector on the shadow side of every shot. It bounces fill light back into dark areas without adding a second light stand to manage.
Build a Repeatable Product-Photography Station
A consistent setup beats a fancy one. Follow this sequence once and you can repeat it indefinitely:
- Pick a spot with steady ambient conditions, away from windows that shift light through the day, with enough floor space for your backdrop, lights, and a few feet of walking room.
- Position your camera roughly three to four feet from the product for typical tabletop items, adjusting closer for small jewelry or farther for larger goods like shoes or bags.
- Hang or curve your sweep, taping the base to the table or floor so it does not shift between shots; a roll of white seamless paper or a curved foamboard both work well.
- Set up a one-light start: key light at roughly 45 degrees to the product, diffused through a softbox, with a reflector opposite to fill shadows. Add a second light behind or above only once the one-light result feels flat.
- Mark camera and product positions on the floor and table with gaffer tape so every future session starts from the same spot, which is what actually makes a catalog look consistent.
- Run a quick test shot and check the histogram for clipped highlights or blocked shadows, confirm color looks neutral against your reference card, and adjust light distance before shooting the full batch.
- Tether your camera to a laptop or tablet if your gear supports it, since reviewing images on a larger screen catches focus and color issues faster than squinting at a camera’s rear display.
- Plan your cables before you plug in anything, running extension cords along walls rather than across walkways, and keep a spare battery or two charged so a dead cell does not stall a shoot mid-session.
Once this station is built, breaking it down and rebuilding it for the next session takes minutes rather than an hour, because every position is already marked.
Concrete Camera Settings and Shooting Techniques for Ecommerce Packshots
Shoot RAW every time. It gives you far more room to correct exposure and white balance later without degrading the image, and for ecommerce work where color accuracy matters, that flexibility is worth the larger file size.
Start with these baseline settings and adjust from there:
- ISO: 100 to 200, kept low to avoid visible noise in flat product backgrounds.
- Aperture: f/7.1 to f/16 depending on product size, with smaller apertures (higher f-numbers) giving more front-to-back sharpness for larger or deeper items.
- Shutter speed: anything reasonable works once the camera is on a tripod, since there is no handheld shake to compensate for.
- White balance: use a white or gray card with a manual (PRE) reading, or dial in a specific Kelvin value for your light source, rather than trusting Auto White Balance.
Manual white balance settings or a Kelvin value produce more accurate color than Auto White Balance, especially under mixed lighting where a camera’s auto mode has to guess between sources. A white card reading takes ten seconds and removes that guesswork for the whole session.
For focus, use single-point autofocus or manual focus locked on the product’s most important edge, usually the front corner closest to camera. For small items like rings or watch faces where depth of field is tight even at f/16, focus stacking (several shots at slightly different focus points, blended later) recovers sharpness across the whole product. A remote trigger or a two-second timer avoids the small jolt of pressing the shutter by hand, which matters more than most beginners expect at close focusing distances.
Tethering your camera to a laptop isn’t just convenient: previewing full-size images during the shoot catches focus misses and color shifts before you have packed up the set, which saves an entire re-shoot later.
A Minimal Editing Pipeline and Export Settings Optimized for Ecommerce
Getting lighting and background right in-camera saves far more time than fixing it in software. Consistent lighting, white balance, and camera placement during the shoot minimize the masking and background work needed afterward, which is the single biggest lever for a small team with limited editing hours.
A simple, repeatable edit order works for most catalogs:
- Crop to your standard template size and aspect ratio first.
- Apply a global white balance and color correction pass.
- Spot-clean dust, scratches, or stray fibers.
- Sharpen lightly for web display.
- Save a master file before exporting any web-sized version.
For volume work, sync your Camera Raw adjustments across a batch and build Photoshop actions for repetitive steps like resizing and sharpening, then run a final manual quality check to catch anything automation missed.
For the actual export, Shopify recommends square product images at 2048×2048 pixels, with files optimized to around 300 KB so pages load quickly while still supporting zoom, since zoom functionality needs source images larger than 800×800 pixels. Save as JPEG for most product shots, name files descriptively (product-name-color-angle.jpg), and write alt text that describes the actual product rather than generic terms, since both naming and alt text feed into how well your images get found in search and image results.
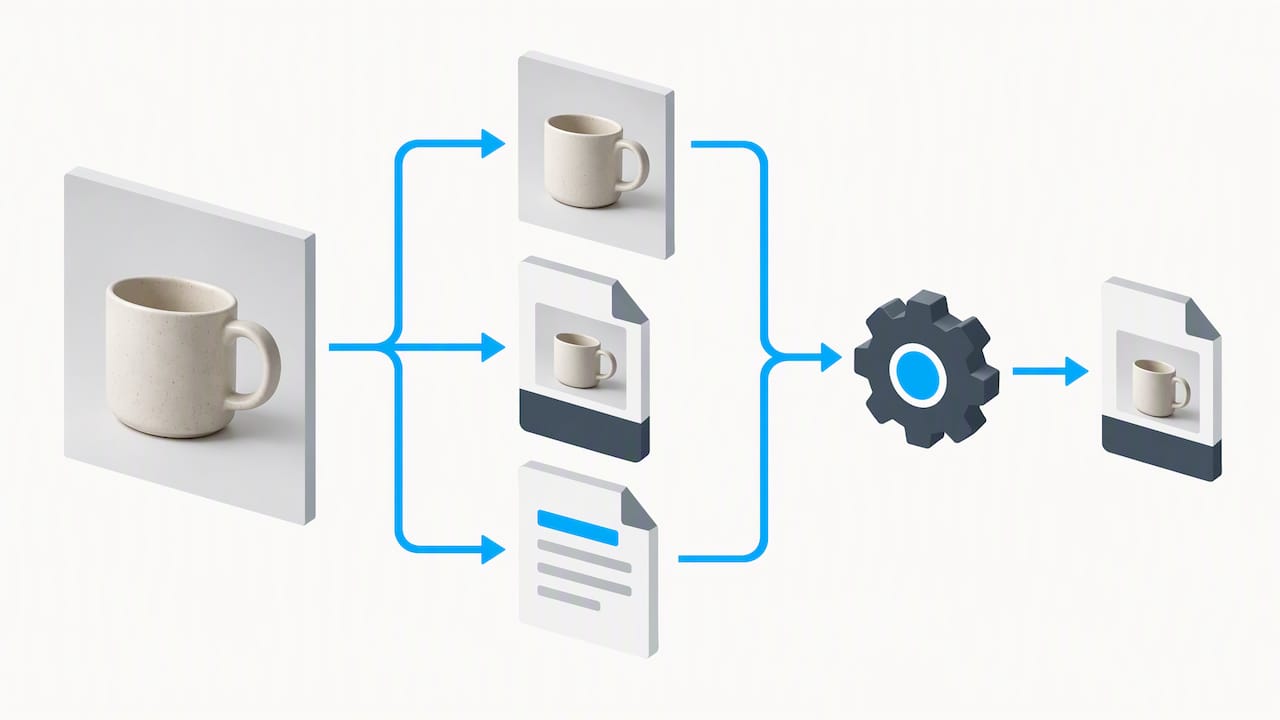
Pro Tip: Keep one “master” high-resolution file per product separate from your web export. If Shopify’s size needs change, you re-export instead of re-shooting.
One-Page Photography Style Guide Template for Small Catalogs
A living style guide keeps a growing catalog from looking like it was shot by five different people, which is common once a small team brings on freelancers or seasonal help. Keep it to one page with these fields:
- Shot types: front, three-quarter, detail, and lifestyle, matching what Shopify’s own guidance suggests for a mix of clean packshots and contextual images.
- Framing and crop template: fixed margins and aspect ratio for every shot.
- Lighting ratio: key-to-fill brightness relationship, noted once and reused.
- Background and color temperature: which backdrop and Kelvin setting for which product category.
- Export sizes and naming convention: the exact pixel dimensions and filename pattern.
Build a small set of reference images, save your Camera Raw or Lightroom presets alongside them, and keep a master PSD or catalog file as the source of truth. When a brand style guide already exists for your business, extend it with these photography fields rather than starting a separate document. Before any new freelancer uploads images, run a short QA pass against the guide: crop, color, and file size.
Why This Advice Holds Up in Practice
Photography sits alongside branding and web design as part of the same job: making a product look like it belongs on the page it’s displayed on. Our work building brand collateral and ecommerce storefronts reinforces the same handful of habits covered above: fixed camera and light positions marked on the floor, a master file saved before any web export, consistent color profiles across a shoot, and a Shopify-ready export routine so a seller never has to guess at sizing twice. Treating product photography as part of a brand’s visual system, not a one-off task, is what keeps a growing catalog looking like one cohesive store rather than a patchwork of individually shot items.
Editorial Take: Stop Buying Camera Bodies First
Most beginner guides lead with camera recommendations, and that’s backward. A $3,000 mirrorless body with bad lighting still produces flat, amateur-looking packshots, while a $400 smartphone with a well-placed softbox and a tripod can produce a clean, sellable image. The equipment that actually separates a convincing product photo from an amateur one is light shape and consistency, not sensor size.
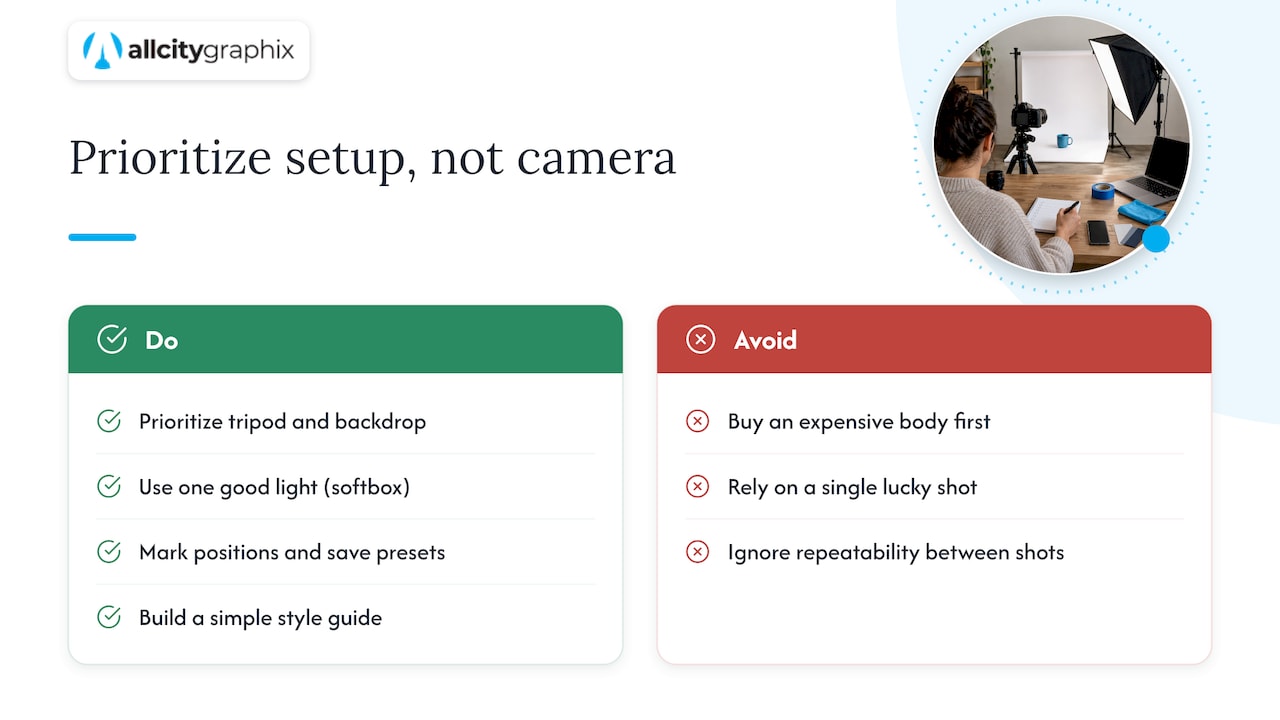
The second place conventional advice falls short is repeatability. Plenty of guides show you how to get one great shot. Few talk about marking positions, saving presets, or building a style guide so shot ten looks like shot one. For a small catalog, that consistency matters more than any single hero image.
If you take one thing from this, prioritize the tripod and the backdrop before anything else. Everything downstream, lighting, settings, editing, depends on a setup that does not shift between shots.
— Alex
How All City Graphix Can Help With Your Product Images
Building a lighting rig and learning a camera takes time that many small business owners don’t have to spare. We handle custom product photography alongside brand style guides and ecommerce builds, so your images, packaging, and storefront come from the same visual system rather than looking stitched together from different sources.

Hiring out makes the most sense once your catalog grows past a handful of items, your quality bar rises past what a weekend setup can deliver, or your time is better spent running the business than adjusting softboxes. A discovery call covers your product range, shot list, and timeline before any work starts. If you’d rather talk through a full creative package, including photography alongside branding and web development, visit our services page to get started.
FAQ
What is the 20 60 20 rule in photography?
Definitions vary across photography communities, and there is no single standard version tied specifically to product photography. Some photographers use it loosely to describe a composition or exposure balance guideline, but it is not a fixed industry rule you need to follow for ecommerce packshots.
What equipment do I need for product photography?
A starter kit includes one or two continuous LED lights with softboxes or a light tent, a sturdy tripod, a sweep or backdrop, a reflector, and a camera or smartphone with manual controls. A tripod is widely considered the most critical piece because it keeps framing and focus consistent across an entire shoot.
Is AI replacing photographers?
AI tools can generate or enhance product images for simple use cases, but they still struggle with accurate texture, reflection, and brand-specific detail that a controlled photo shoot captures reliably. Most small sellers get more consistent, trustworthy results from a real setup or a hired photographer, especially for products where color and texture accuracy affect buying decisions.
How much should I charge for product photography?
Pricing depends on factors like location, product complexity, volume, and whether editing is included, so there is no single universal rate. For a specific quote tailored to your catalog, a discovery conversation with a photography provider is the most reliable way to get an accurate number.
What’s the fastest way to start shooting products at home?
Clear a table near steady indoor light, tape down a white seamless backdrop or curved foamboard, and set one continuous LED light with a softbox at roughly 45 degrees to the product. Mount your camera or phone on a tripod, shoot RAW at ISO 100 with an aperture near f/8, and check the histogram before shooting your full batch.
Sources
- What to upgrade first: light, modifier, camera, or lens? — Fstoppers
- Guide for stunning product photography — Tamron Americas
- Best workflow for consistent product image backgrounds and lighting in Photoshop? — Adobe Community
- Setting white balance — Nikon USA